


November 14, 2024
A Step-by-Step Guide to Check if Your IP is Blacklisted
Is your IP address being blacklisted? If you're having problems with emails not getting through, fewer people visiting your website, or your online reputation suffering, it's important to find out if your IP is blacklisted. In this guide, we'll explain how to check if your IP is blacklisted, why this happens, and how to prevent it in the future.
Checking if your IP is blacklisted is crucial if you're facing issues with email deliverability, website traffic, or online reputation. We'll guide you through the process step-by-step, helping you understand why IP gets blacklisted and how to avoid it in the future.
Being blacklisted can cause your emails to end up in spam folders, reduce traffic to your website, and harm your online reputation. By following our guide, you can identify if your IP is blacklisted and take the necessary steps to resolve the issue.
Understanding IP Blacklisting
Understanding IP blacklisting is important for anyone using the internet. IP blacklisting happens when your IP address is put on a list of addresses known for sending spam, having malware, or doing other bad things online. There are a few reasons why this might happen, like sending emails to people who didn't ask for them, having websites that spread malware, or doing bad things online.
Imagine if your phone number was put on a list of numbers that are known for sending spam messages. People might not trust you, and your messages might not get through to the people you want to talk to. That's similar to what happens when your IP address is blacklisted.
When your IP address is blacklisted, it can cause problems. Your emails might not reach the people you send them to, your website might not show up in search results, and your online reputation can suffer. It's important to understand what IP blacklisting is and how to avoid it, so you can stay safe and keep your online activities running smoothly.
Why Do IP Addresses and Domains Get Blacklisted?
When an IP address or domain is blacklisted, it means that it is added to a list of addresses or domains that are known for sending spam, hosting malware, or engaging in other malicious activities online. But how does this happen?
1. Sending Spam: One common way for an IP address or domain to get blacklisted is by sending spam emails. If a large number of spam emails are sent from a particular IP address or domain, email providers may flag it as a source of spam and add it to their blacklist.
2. Hosting Malware: Another way for an IP address or domain to get blacklisted is by hosting malware-infected content. Malware is malicious software that can harm computers and steal personal information. If an IP address or domain is found to be hosting malware, it may be blacklisted to prevent further harm.
3. Engaging in Malicious Activities: IP or domains involved in other malicious activities, such as hacking, phishing, or distributing illegal content, can also be blacklisted. These activities are harmful and can lead to serious consequences, including being added to blacklists.
4. Reputation Monitoring: Many organizations and services monitor the reputation of IP and domains. If they detect suspicious or harmful activities associated with an IP address or domain, they may blacklist it to protect their users.
5. User Reports: In some cases, users may report spam or other malicious activities originating from a particular IP address or domain. These reports can lead to the IP address or domain being blacklisted.
3 Easy Ways to Confirm You're Not Blacklisted
To avoid being blacklisted, it's important to follow best practices for online behavior, such as not sending spam emails, keeping your website secure, and avoiding engaging in malicious activities. Regularly monitoring the reputation of your IP address or domain can also help you identify and address any issues before they lead to blacklisting.
Checking if you are blacklisted is important to ensure that your online activities are not being negatively affected.
Here are some steps to check if you are blacklisted:
1. IP Address Check: Use an IP blacklist checker tool like Upkepr to check if your IP address is on any blacklists. Upkepr maintains a curated catalog of blocklists to inform you about entities that have flagged your IP address or domain as problematic. When someone enters a domain or website, Upkepr checks that IP against its highly trusted curated list to determine if it has been flagged. Our Blacklist lookups provide information only and do not make decisions. If your email is blocked, it may be due to your IP address or domain being listed on a blacklist used by the Inbox Provider. Upkepr shows you who flagged your IP address but does not support any specific blacklist. You're welcome to ignore a blacklist if you don't find it relevant.
2. Domain Name Check: Similarly, you can use a domain blacklist checker tool to check if your domain name is on any blacklists. This is important if you send emails from your domain or have a website associated with it.
3. Email Blacklist Check: If you are experiencing issues with email deliverability, you can use an email blacklist checker tool to check if your email address or domain is on any email blacklists. This will help you identify if your emails are being flagged as spam.
By regularly checking if you are blacklisted using tools like, you can take steps to address any issues and ensure that your online activities remain unaffected.
Steps to Remove Your IP Address from a Blacklist
Getting your IP address off a blacklist is crucial to restore your online reputation and ensure that your emails and website traffic are not adversely affected.
Here are the steps you can take to remove your IP address from a blacklist:
1. Identify the Blacklists: First, you need to identify which blacklists your IP address is on. You can use various online tools and services to check your IP address against multiple blacklists.
2. Contact the Blacklist: Once you know which blacklists your IP address is on, you should contact them to request removal. Each blacklist will have its own process for removal, which may involve filling out a form, sending an email, or providing evidence that the issue has been resolved.
3. Fix the Issue: Before requesting removal, you should address the issue that led to your IP address being blacklisted. For example, if your IP address was blacklisted for sending spam, you should ensure that your email practices comply with anti-spam regulations and best practices.
4. Submit a Removal Request: Follow the instructions provided by the blacklist to submit a removal request. Provide any necessary information or evidence to support your request, such as logs showing that the issue has been resolved.
5. Monitor the Status: After submitting a removal request, monitor the status of your request on the blacklist's website. Some blacklists may provide an estimated timeframe for removal, while others may require you to wait for a manual review.
6. Follow Up if Necessary: If your removal request is not processed within the expected timeframe, or if you do not receive a response from the blacklist, you may need to follow up with them. Be polite and provide any additional information they may require.
7. Prevent Future Blacklisting: To prevent your IP address from being blacklisted in the future, ensure that you follow best practices for online behavior, such as not sending spam, keeping your website secure, and monitoring your IP address's reputation regularly.
9 Tips to Prevent Your Website from Getting Blacklisted
Preventing your website from being blacklisted is essential to maintain its reputation and ensure that it remains accessible to users.
Here are some effective strategies to avoid having your website blacklisted:
1. Regular Security Audits: Conduct regular security audits of your website to identify and fix any vulnerabilities. This includes keeping your software, plugins, and themes up to date, as outdated software can be exploited by hackers.
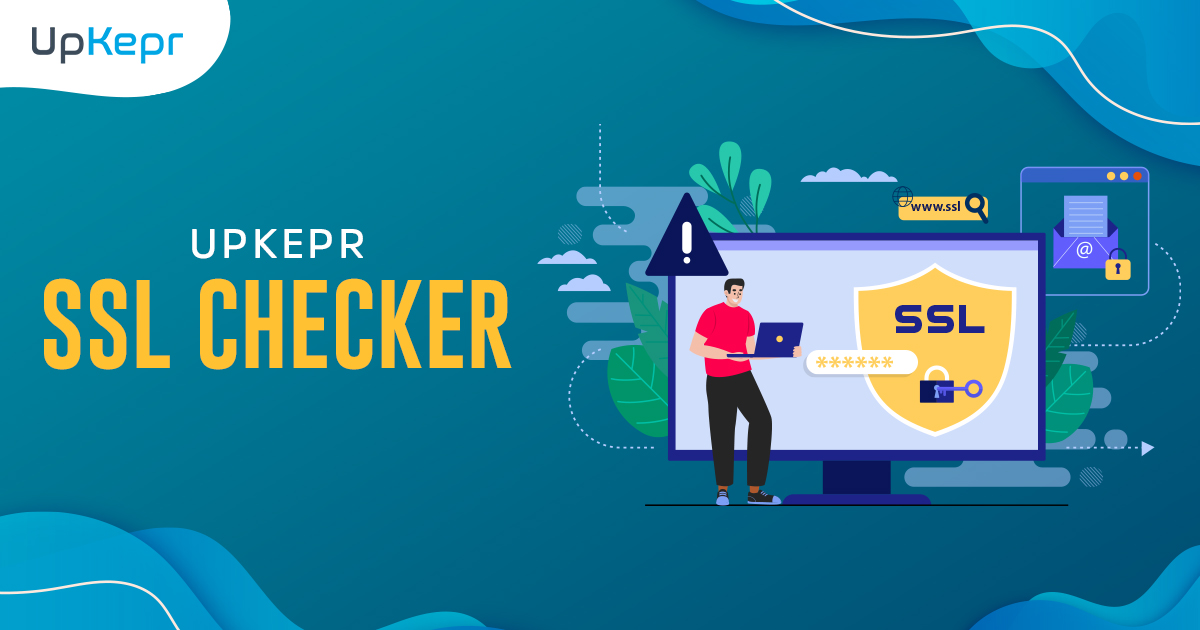
2. Use Secure Connections: Ensure that your website uses HTTPS instead of HTTP. HTTPS encrypts the data exchanged between your website and users, making it more difficult for hackers to intercept and tamper with the data.
3. Implement Security Measures: Install security plugins and software to protect your website from malware, viruses, and other cyber threats. These tools can help detect and remove malicious code from your website.
4. Monitor Website Traffic: Keep an eye on your website traffic to detect any unusual patterns or spikes that may indicate a cyber attack. Use web analytics tools to monitor traffic sources, user behavior, and other relevant metrics.
5. Educate Yourself and Your Team: Stay informed about the latest security threats and best practices for website security. Educate your team members about the importance of cybersecurity and how to identify and respond to potential threats.
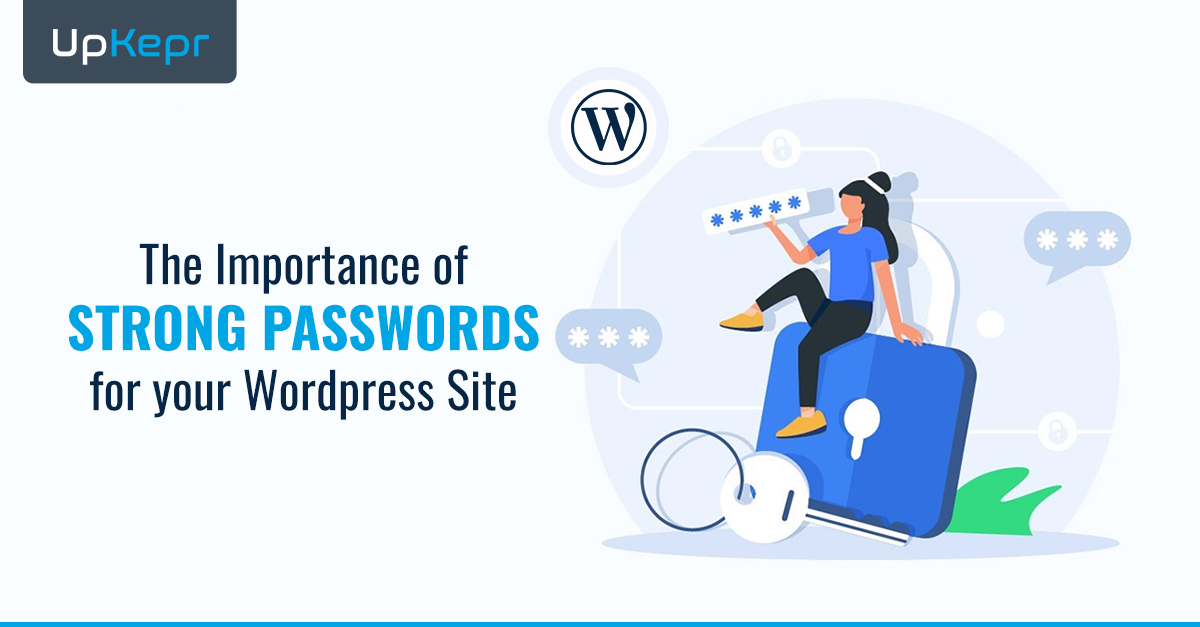
6. Use Strong Passwords: Use strong, unique passwords for your website's admin panel, FTP, and other sensitive areas. Avoid using easily guessable passwords like "password123" or "admin." Consider using a free password generator online, such as the one offered by Upkepr, to create strong and secure passwords for your website.
7. Regular Backups: Regularly back up your website's data and files to a secure location. This ensures that you can quickly restore your website in case it is compromised or blacklisted.
8. Engage in Responsible Email Marketing: If you engage in email marketing, ensure that you comply with anti-spam regulations and best practices. Only send emails to users who have opted in to receive them and provide an easy way for users to unsubscribe.
9. Monitor Blacklists: Regularly check if your website is listed on any blacklists using online tools and services, such as Upkepr IP address blacklist checker. If you find that your website is blacklisted, take immediate steps to address the issue and request removal from the blacklist.
By implementing these strategies, you can significantly reduce the risk of your website being blacklisted and ensure its continued accessibility and reputation online.
Conclusion
In conclusion, checking whether your IP address is blacklisted is a critical measure to safeguard your online presence. It plays a pivotal role in maintaining your reputation and ensuring uninterrupted access to your emails and website. Following the steps outlined in this guide is key to preventing your IP address from being blacklisted in the future.
Utilizing Upkepr tools can greatly assist in this endeavor. Upkepr offers a range of website security tools, including an IP address blacklist checker, which can help you stay informed and protected against potential threats. By regularly checking your IP address and implementing robust security measures, you can minimize the risk of being blacklisted and maintain a positive online reputation.
Remember, online security is an ongoing process that requires diligence and proactive measures. Stay informed, stay secure, and protect your online assets with Upkepr comprehensive security solutions.
Recent Posts View All Posts


 Sign Up with Google – Free
 Sign Up with Github – Free